
Aligning a directional light to the skybox

When the directional light representing the sun matches the angle of the sun in the skybox, the lighting in the scene feels correct and can add believability to the game and game play.
Small discrepancies maybe hard to pin down, but if the lighting doesn’t match, things just seem wrong.
Aligning a directional light to the sun in the skybox can seem like a real pain, however, with lots of trial and error to get it correct.
There is one quick trick that makes aligning the directional light to the sun painless and simple.
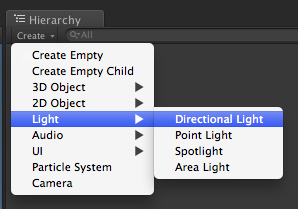
With the skybox in place, add a directional light to the scene.
Make sure the scene view camera is in a position that it can “see” both the sun in the sky and the directional light itself, and neither is occluded by geometry.
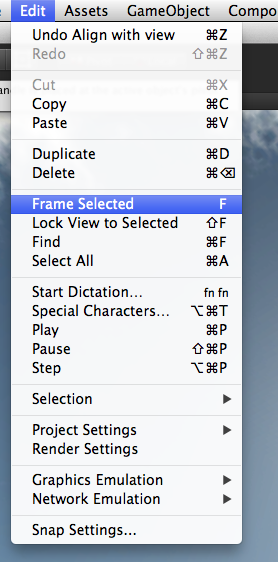
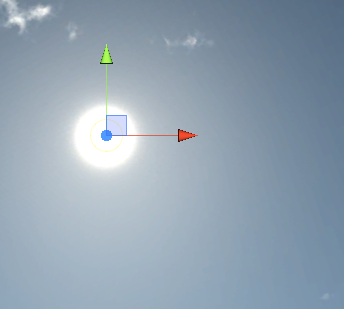
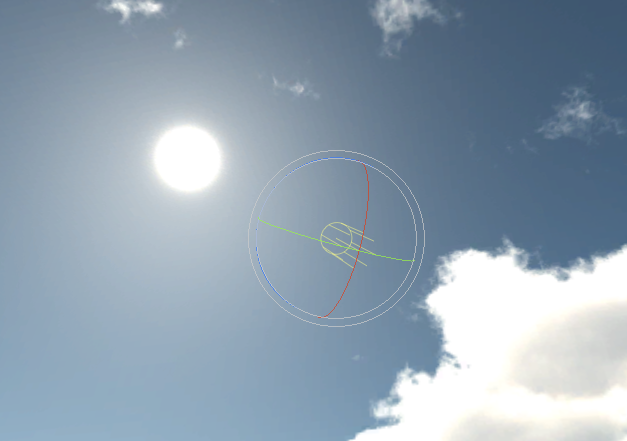
With the directional light selected, use “frame selected” to set the scene view camera’s pivot point to the directional light:
Then, with the directional light as the pivot point, align the sun behind the light. Don’t worry about the facing of the light:

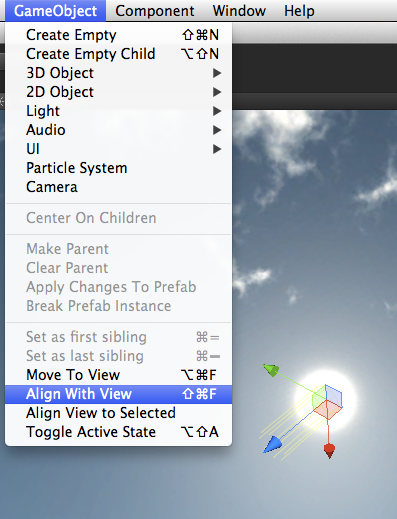
Making sure the directional light is still selected, use “GameObject > Align with View” to align the directional light to the scene view camera.
Don’t be surprised or worried! You won’t be able to see the light. It will seem as if the directional light has suddenly disappeared.

This is because the directional light is now perfectly aligned with the scene view camera. It is in the same location with the exact same rotation. As the directional light is now sharing the position in the scene with the scene view camera, the scene view camera cannot see it any more.
Making sure the directional light is still selected, use “frame selected” again:
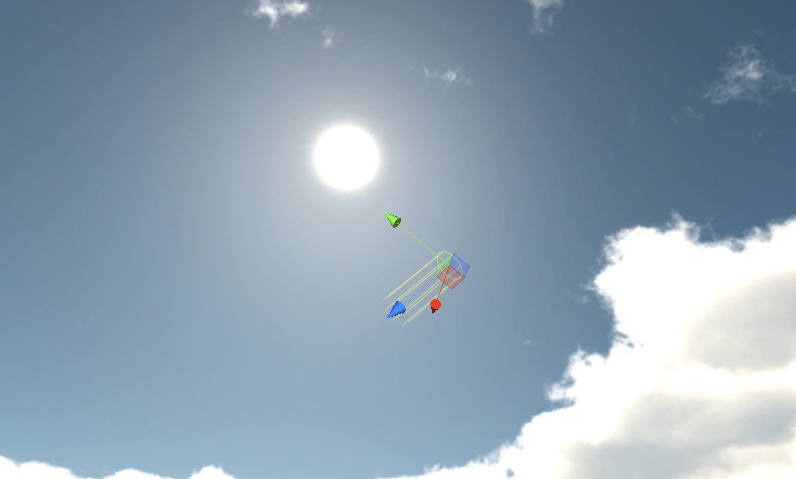
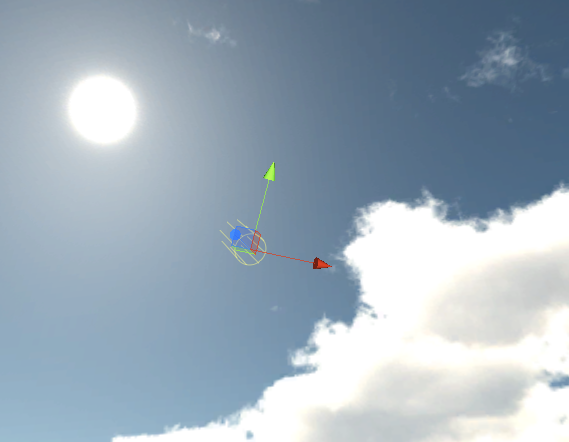
This will pop the scene view camera back far enough to see the newly aligned directional light:
It is, however, aligned backwards! If we think about this a moment, it makes sense. Our scene view camera was facing the sun, so our directional light, which we aligned to the scene view camera, is now facing the sun as well.
At this stage, we shouldn’t move the scene view camera!
If we did, the directional light would look like this, where the directional light can be seen facing the sun:
(If the scene view camera does get moved at this stage, we can fix things by making sure the directional light is selected, and using “GameObject > Align View to Selected” and the scene view camera will be aligned to the light. Then again, repeat the step of making sure that the directional light is selected, and, using “Frame Selected”, we will be ready to continue.)
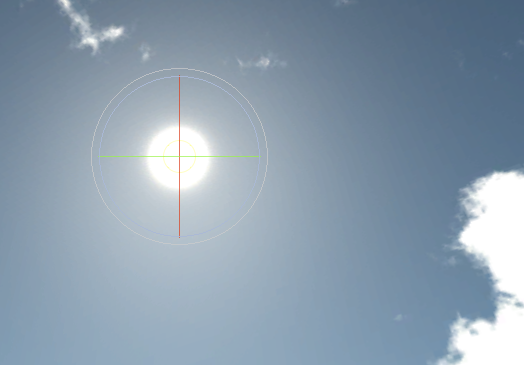
As we are looking at the “back” of the light as it faces the sun, all we need to do now is simply rotate the light exactly 180° on any one of the light’s local axes.
The easiest way to do this is to make sure the scene view is set to “local”:
![]()
… and the transform tool is set to “rotate”:
![]()
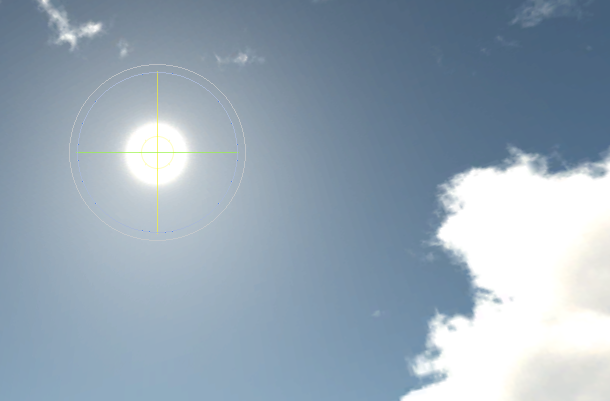
This will allow us to use the scene gizmo and drag the directional light on only one axis. We do, however, want to rotate the directional light exactly 180°. We can guarantee that by holding down the <cmd> key on the Mac, and the <ctrl> key on Windows. This will enable incremental snapping. Rotate the transform gizmo until it’s rotate a perfect 180°:
Done!
If the scene view camera is moved, the scene should now look like this:
The directional light is now aligned with the sun in the skybox!
No Comments